Creating a captivating dating profile picture on your own may seem daunting, but it's an essential skill that can transform your online dating experience. The right photos can make all the difference in grabbing the attention of potential matches, with studies showing that high-quality profile pictures significantly increase your chances of receiving more likes and messages.
Whether you're using Tinder, Bumble, or another dating platform, learning how to take attractive photos by yourself is key. This guide covers the best techniques, from selecting equipment and choosing the perfect backdrop to nailing your poses and optimizing your photos. With these expert tips, you'll be on your way to creating a profile that attracts attention and sparks conversation.
Why Great Dating Photos Matter
In the world of online dating, visuals are everything. According to research, profiles with well-composed, high-resolution photos receive 33% more messages and 21% more likes. High-quality images help potential matches quickly form a positive impression of you, which makes all the difference in the competitive landscape of dating apps.
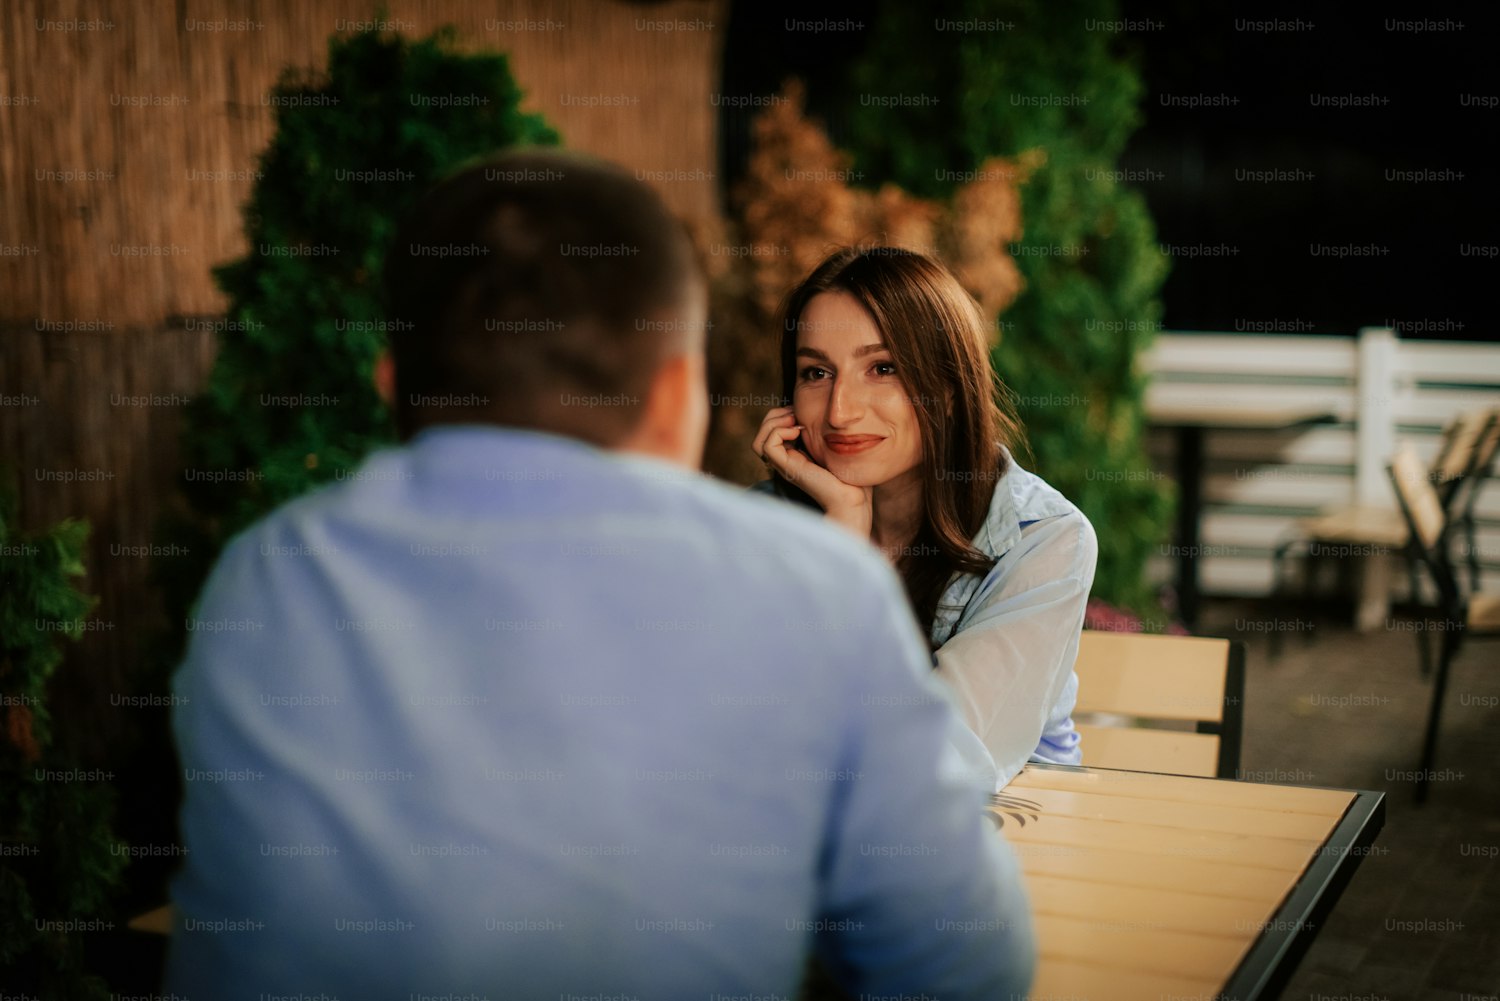
OkCupid's internal data has found that photos where someone is doing something (cooking, hiking, playing an instrument) generate significantly more conversation starters than static headshots alone. Hinge has reported that full-body photos in their lineup increase match rates by up to 203% compared to profiles that only show face shots. These aren't small margins. The difference between a mediocre photo set and a thoughtful one can determine whether you get responses at all.
You don't need to hire a photographer to compete. But you do need to be deliberate about every element in the frame: lighting, background, posing, and editing all compound on each other. Getting two or three of them right produces noticeably better results than treating photos as an afterthought.
Essential Gear for Taking Solo Photos
To take great dating photos by yourself, you'll need more than just a smartphone. Here's what you need to get started:
- High-Quality Camera: Most modern smartphones have excellent cameras capable of producing high-resolution images. Make sure your phone has a portrait mode or similar setting to enhance depth and make your photos pop. iPhone 12 and newer and most Android flagships from 2021 onward all shoot sharp enough for a dating profile. The bottleneck is almost always lighting and positioning, not megapixels.
- Tripod: A tripod is crucial for keeping your camera stable, ensuring your shots are consistently framed without needing someone else to hold the camera for you. The UBeesize 51" phone tripod (around $25) and the Joby GorillaPod 1K are two reliable options. Both include a smartphone holder and fold down small enough to carry in a bag. Set the height so the lens is level with your eyes or just slightly above.
- Remote Shutter or Timer: Using a remote shutter or your phone's self-timer allows you to snap photos without running back and forth, giving you time to perfect your pose. A Bluetooth shutter remote (under $10 on Amazon) lets you trigger the camera from up to 30 feet away. Set a 2-second delay on your phone timer as a backup so mirror shake doesn't blur the shot.
- Lighting: Natural light is your best friend when it comes to taking flattering photos. Position yourself near a window to take advantage of soft daylight, or use a ring light if natural light isn't available. The Neewer 18-inch LED ring light kit ($50-70) is a popular starting point. It clips to a stand and includes phone and camera mounts. For portable touch-ups, the Lume Cube Panel Mini clips to a phone and adds fill light without creating harsh shadows.
Setting Up the Perfect Shot
Once you have the right equipment, it's time to think about your surroundings. The goal is to create a scene that showcases your best self. Here's how to do it:
- Backdrop: Choose a clean, uncluttered background. Avoid messy spaces or distracting objects that could draw attention away from you. Simple, aesthetically pleasing environments (like a neatly arranged living room or a park) work well. If you're outdoors, position yourself at least 6-10 feet in front of any wall or fence so the background blurs slightly and you stand out from it. Avoid backgrounds with strong horizontal or vertical lines (like blinds or a chain-link fence) that compete with your silhouette. Neutral tones (green foliage, a brick wall, a muted painted surface) keep the eye on your face.
- Lighting: The golden hour (roughly 30-60 minutes after sunrise or before sunset) produces warm, directional light that flatters almost every skin tone. Midday sun creates harsh shadows under your eyes and nose, so avoid it for close-up shots. When shooting indoors, stand facing a large window rather than beside it. That way the light falls evenly across your face instead of lighting one side and leaving the other in shadow. Sheer curtains or a white sheet taped over the window diffuse harsh direct sunlight into a softer glow. If natural light isn't available, use a ring light at arm's length in front of you, centered with your face, to simulate that soft, flattering look.
- Framing: Set up your camera so that it's at or slightly above eye level. This angle is more flattering for most people and reduces unnatural distortions caused by shooting from below. For a standard profile photo, frame yourself from mid-chest up and leave a small gap between the top of your head and the edge of the frame. For activity shots, pull back further so your full body and the environment are both visible. This is what makes a photo feel like a genuine moment rather than a selfie with a background.
- Outfit contrast: Your clothing should contrast with the background rather than blend into it. Wearing a gray sweater against a gray wall makes you disappear. A navy shirt in front of a neutral brick wall, or a warm rust tone against green foliage, gives the eye an anchor point and makes the photo feel more composed.
Posing Like a Pro
One of the hardest parts of taking your own dating photos is figuring out how to pose naturally. The key is to avoid looking stiff or overly posed. Follow these tips to strike the perfect balance:
- Relax Your Shoulders: Tension in your shoulders can make you look rigid. Before the photo, shake out your arms and take a deep breath to relax your muscles. Dropping your shoulders an inch lower than feels natural often looks exactly right in the photo.
- Turn Slightly: A full, head-on shot can sometimes feel a bit formal. Instead, turn your body slightly to the side, about 30 to 45 degrees, to create a more dynamic and flattering pose. Keep your chin forward and slightly down to define your jaw and avoid the flattened look that comes from pointing your chin up toward the camera.
- Smile Naturally: A forced smile can make a photo feel less authentic. Think of something that genuinely makes you happy or try laughing to capture a more natural and engaging expression. Squinting very slightly (known as a Duchenne smile) makes a smile reach your eyes and look genuine rather than posed. Smiling with teeth performs measurably better on most apps than a closed-mouth expression.
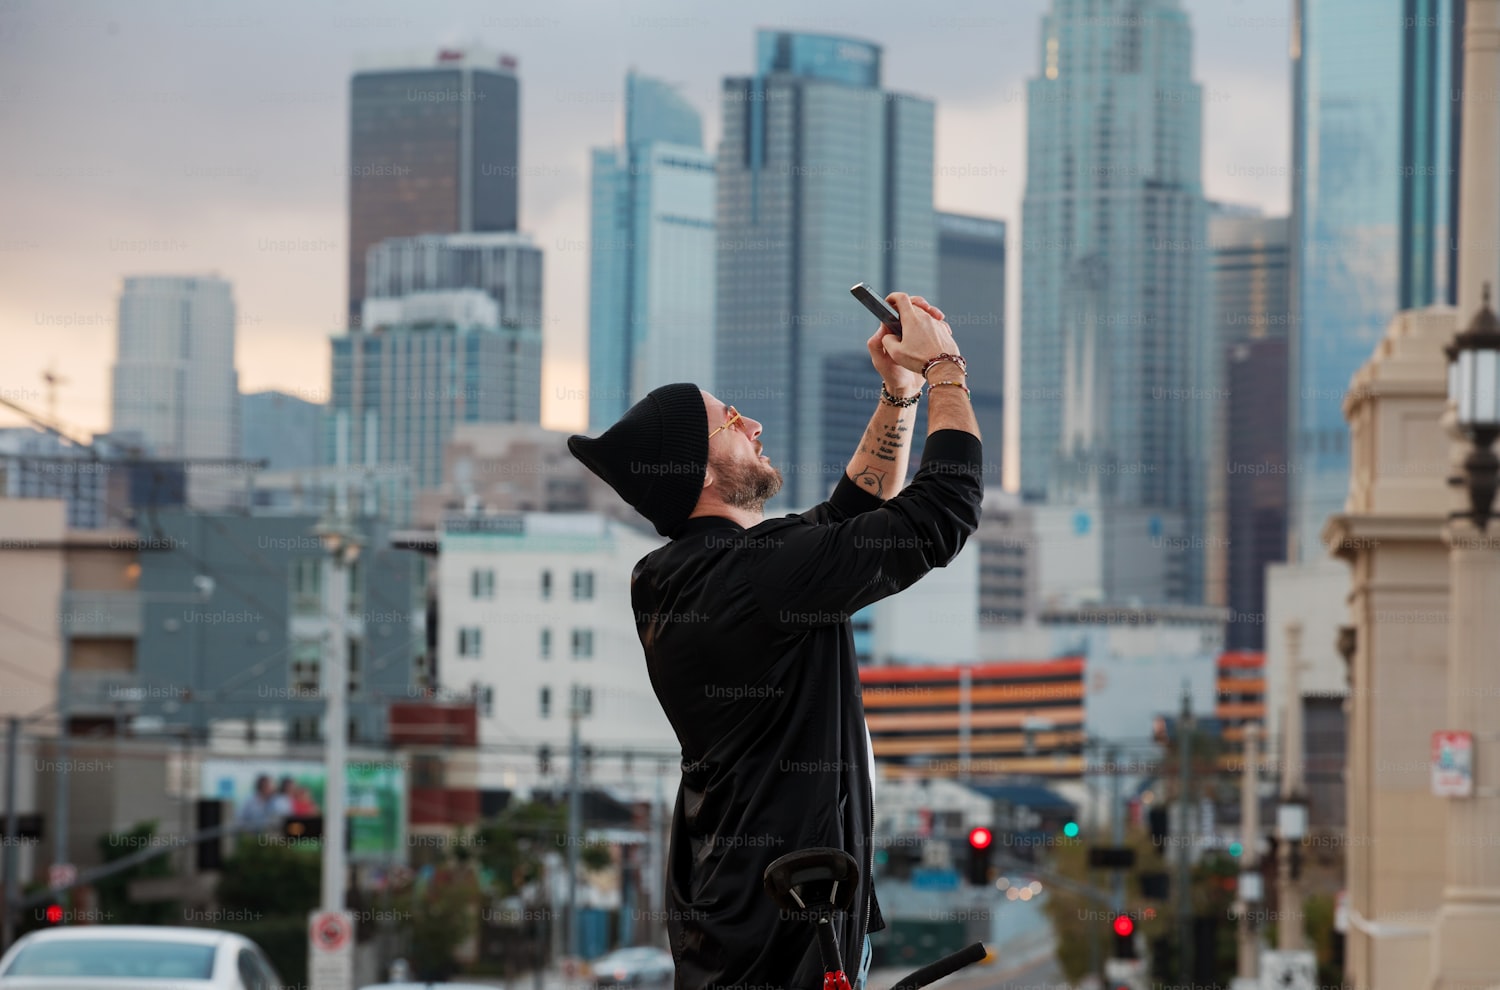
- Use Props or Movement: To make your photos more interesting, consider incorporating subtle movement or using a prop, like holding a coffee cup or leaning on a fence. This helps the shot feel more candid and less staged. Shots taken mid-laugh, mid-stride, or while doing something with your hands consistently read as more natural than static poses. Shoot bursts of 10-15 frames and select the most natural moment rather than trying to hit a single perfect pose.
- Angles for different body types: If you want to look taller, shoot from slightly below eye level and stand straight with your weight evenly distributed. If you want to look leaner, angle your body 45 degrees to the camera and place one foot slightly in front of the other. Crossing your arms tends to close off your body language and signals guardedness. Keep your arms loose or use them to interact with something in the scene.