Dating Tips

Why Are My Tinder Photos Blurry? A Step-by-Step Checklist

Published November 2, 2026 · 7 min read

By MatchPhotos Editorial Team · Facts checked November 2, 2026

If your own Tinder photos look blurry, compare the original, crop, exported file and saved app preview in that order. Change one thing at a time. Find the camera original before trying sharpening, and retake a photo when the face lacks usable detail. A hidden Likes You preview is a different issue from the quality of your uploaded photo.

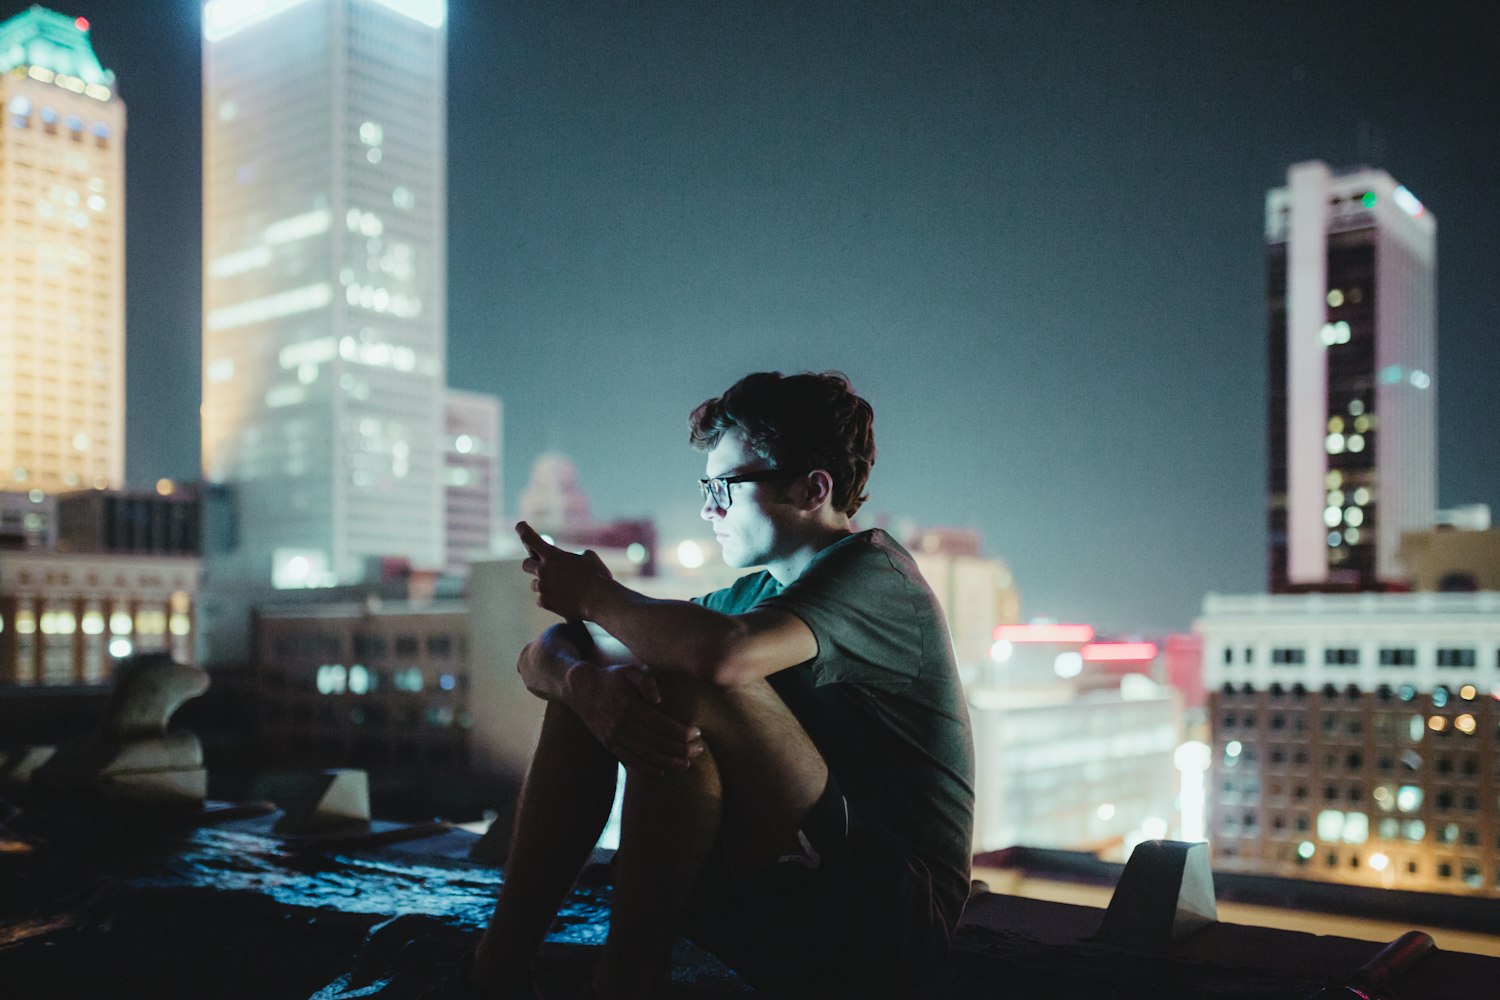
Man wearing glasses looking at a phone above a city at night

Your uploaded photo or a hidden Likes You preview?

This checklist concerns your own profile photo: a picture that looks soft in the original file, after editing or inside Tinder. If you are looking at a hidden preview of someone who liked you, changing your upload quality will not reveal that person's picture. Use Tinder's current in-app information about Likes You for that separate feature.

For your own image, avoid changing several settings at once. Keep the original safe and compare each stage in order. The aim is to find where visible detail disappears, not to discover a magic export size or assume that every blurry picture has the same cause.

Check the original first

Open the camera original, not the thumbnail, and let it load fully. Inspect your eyes, hair and clothing at a sensible viewing size, then zoom in to check the face. Enlarging any image far enough exposes pixels; that alone does not mean it is unusable.

Look for a directional smear from movement, focus on the background instead of your face, or too few pixels in the face itself. A softly blurred background can be intentional. What matters here is whether the part meant to identify you is clear.

Symptom What to check Next step
Face is soft in the original Motion, missed focus or a tiny distant face Try another frame or retake with better light and a stable camera
Original is clear but the crop looks rough How little of the original remains Use a wider crop or a closer original shot
Saved export looks worse Size reduction and repeated lossy saves Export a fresh copy from the original
Saved file is clear but app preview is soft Same crop, completed loading and saved profile view Reopen the view and record the difference before contacting support

Find the original instead of a screenshot

A screenshot records what was displayed, which may already be a scaled preview. A messaging app may also send a smaller copy depending on how it was shared. Neither label proves that a file is bad; compare the actual detail and pixel dimensions.

If a friend took the photo, ask for the original file or a transfer that preserves it. If your library stores an optimized local preview, wait for the full file to download before editing. Save a separate working copy so that an experiment never replaces your best source.

Check how much you are cropping

Cropping does not create detail. A small face cut from a wide group photo has fewer source pixels than the full image. Enlarging that crop to fill a screen makes its limitations easier to see.

Try a less aggressive crop and compare it at the same displayed size. If your face becomes too small in the wider composition, choose another source or take a closer photo rather than repeatedly resizing the same fragment.

Compare versions of your own photo

Open the original and the version you intend to upload side by side at approximately the same displayed size. Compare your eyes, hair and clothing rather than judging background blur alone.

Version What to compare with the original
Tight crop Whether enlarging the smaller area makes facial detail look soft
Smaller exported copy Whether resizing removed detail around your eyes and hair
Repeatedly saved JPEG Whether edges show blocks, halos or rough color transitions
Saved app preview Whether the same crop looks different after the image has fully loaded

Keep the original untouched and change one setting at a time. These checks help locate a difference; they do not establish Tinder's compression settings or a universal upload specification.
Same you. Better photos.

Your camera roll doesn’t have to limit your dating profile. Turn everyday selfies into a gallery of AI photos in different outfits and settings, then choose the ones you actually want to use.

Before
Before
After
After
Upgrade my photos

Export a fresh copy from the original

Return to the original, apply the needed crop once and save a new copy without unnecessarily reducing its dimensions. Inspect that saved file before uploading. Avoid cycling through screenshots, messaging apps and repeated JPEG exports while trying to improve it.

Choose a format supported by your app's upload flow. This guide does not prescribe an undocumented Tinder pixel size, file-size limit or aspect ratio. A larger file is not automatically sharper, and enlarging a small source does not restore the details it never recorded.

Mild sharpening can make existing edges look crisper, but excessive sharpening produces outlines and rough texture. Compare against the untouched original. Treat reconstructed details from enhancement tools cautiously, particularly around facial features.

Compare the saved file with the app preview

Upload the fresh copy and note the crop you choose. After the upload finishes, reopen your saved profile view and compare it with the local file at approximately the same display size. Check that you are comparing the same version rather than an earlier upload.

If the difference persists, record which view looks soft, your app version and device, and whether the issue affects one file or several. A preview discrepancy is useful diagnostic evidence, but it does not establish how every other person sees the photo. Avoid repeatedly replacing your entire lineup to investigate one image.

What Photo Enhance can and cannot do

According to Tinder's Photo Enhance documentation, the feature is available on iOS and Android in select markets. It can suggest technical adjustments to eligible face photos, including clarity and exposure improvements.

Tinder describes access through Edit profile when a suggestion is available. You can compare the enhancement with the original and revert. Not seeing a suggestion does not by itself indicate an error: eligibility and availability matter.

The stated purpose is technical improvement rather than changing your appearance. Independently of that product description, no enhancement should be treated as proof that missing facial detail has been faithfully recovered. Inspect the result before choosing it.

When to retake the photo or contact support

Retake the picture when the source face is out of focus, badly moved or too small to use. Try soft daylight, stable support and a closer composition. Our guide to good Tinder pictures covers framing, while the self-directed photo guide helps you set up another attempt.

If clear local files repeatedly look wrong in the saved app view, use Tinder Support. Describe the steps and the affected view. Share only the information needed for troubleshooting, keeping unrelated account or personal details out of screenshots.

If you need entirely new portrait options, see MatchPhotos Tinder-photo examples. That is a separate creative choice. MatchPhotos does not repair Tinder uploads, and new generated photos still need inspection for likeness and suitability.

Frequently asked questions

Why is my photo sharp before upload and blurry afterward?

Compare the saved export first, then the crop and app preview. This separates a file problem from a display difference without assuming an undocumented cause.

Will a bigger file fix it?

Only if you were using a smaller copy and the original contains more useful detail. Upscaling the same soft source is not equivalent to finding a better original.

Can sharpening fix a blurry face?

It may improve edge contrast, but it cannot guarantee accurate recovery of missing facial detail. Prefer a clear source over a heavily processed reconstruction.

Should I upload a screenshot instead?

Prefer the original when available. A screenshot may contain less detail than the source and adds another step to diagnose.

Is a blurred background a problem?

Not necessarily. Background blur can separate you from the setting. Check whether your face, rather than every part of the image, is appropriately sharp.

Ready for more matches? Start with better photos.

Your photos make the first move. Give them a reason to swipe right with realistic AI photos made from your selfies. Pick your strongest shots and put a better profile out there.

AI-generated portrait of a smiling man in a tuxedo holding a champagne glass at a formal receptionAI-generated portrait of a man in a coat walking along a city streetAI-generated portrait of a smiling man in a suit on a rooftop terraceAI-generated portrait of a man in a navy jacket at an outdoor gathering
  • Feel confident about your profile
  • Attract more matches
  • Turn matches into real dates
Upgrade my photos

Prefer to start later? Get a 10% discount by email.